Effective Planning When Painting Your Kitchen and Bathroom

Effective Planning When Painting Your Kitchen and Bathroom
Painting your kitchen and bathroom can completely transform the look and feel of your home. However, these rooms require more careful planning than others because they are exposed to moisture, heat, and frequent use. With a well-thought-out plan, you can avoid stress, mistakes, and unnecessary costs. Here’s a practical guide to effective planning before you start painting your kitchen and bathroom.
Begin with a Realistic Schedule
The first step is to estimate how much time the project will take. Many people underestimate the preparation stage, but that’s where the foundation for a great result is laid. Create a schedule that includes:
- Cleaning and preparation – at least one day to wash, sand, and cover surfaces.
- Painting – depending on the size of the room and number of coats, usually one to two days.
- Drying time – follow the manufacturer’s instructions; damp rooms often need longer drying periods.
If you’re painting both rooms, it’s best to tackle one at a time so you still have access to either the kitchen or bathroom during the process.
Choose the Right Materials
Kitchens and bathrooms demand durable, moisture-resistant paints. Choosing the right products will ensure your finish lasts longer and looks better.
- For the kitchen: Use a washable, high-sheen emulsion (around mid-sheen or satin finish) that can withstand grease and frequent cleaning.
- For the bathroom: Select a paint specifically designed for bathrooms or high-humidity areas. It should be mould-resistant and allow the walls to breathe while repelling moisture.
- For woodwork and trims: Use a hard-wearing, moisture-tolerant paint or varnish suitable for skirting boards, window frames, and doors.
Always check that the paint is appropriate for the surface you’re working on—whether it’s plaster, tiles, or wood.
Preparation Is Half the Work
A smooth, long-lasting finish depends on how well you prepare the surfaces. Start by:
- Cleaning thoroughly – use a degreasing cleaner, especially in the kitchen where grease and steam build up.
- Removing loose paint and sanding – smooth out any flaking or uneven areas so the new paint adheres properly.
- Filling holes and cracks – use filler and allow it to dry completely before sanding again.
- Covering and protecting – use dust sheets, plastic covers, and masking tape to protect floors, tiles, and fittings.
Good preparation makes painting easier and ensures a professional-looking result.
Plan the Order of Work
When painting rooms with multiple surfaces and fixtures, the order matters. A good rule of thumb is:
- Ceiling
- Walls
- Woodwork and details
This sequence helps prevent drips and smudges on freshly painted areas. When painting around cupboards, mirrors, or tiles, work in small sections and use a brush for edges and corners.
Think About Ventilation and Safety
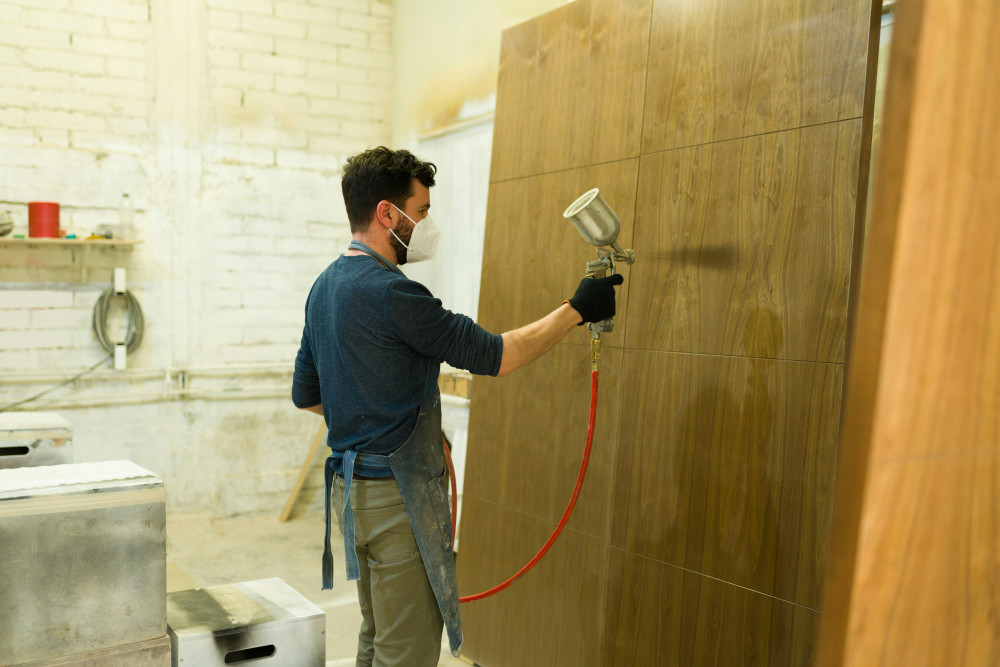
Both kitchens and bathrooms can trap moisture and fumes. Keep windows open and, if possible, use an extractor fan or portable ventilator while painting. If you’re using solvent-based paints, wear gloves and a mask, and avoid staying in the room while the paint dries. Always store paint and tools safely, away from children and pets.
Læs også:
Avoid Common Mistakes
Even small errors can be noticeable in rooms with bright lighting and glossy surfaces. Watch out for these pitfalls:
- Painting on damp walls – always wait until surfaces are completely dry.
- Skipping primer – especially on new or repaired areas.
- Applying paint too thickly – this can cause uneven drying and peeling.
- Leaving masking tape on too long – remove it while the paint is still slightly wet to avoid lifting the edges.
Finish with Maintenance
Once the paint is dry, think about how to keep it looking fresh. Wipe down walls and ceilings with a damp cloth a few times a year, and clean up splashes or stains promptly. In the bathroom, use a squeegee or cloth to remove condensation after showers—this helps prevent mould and extends the life of the paint.
A Well-Planned Project Brings Lasting Results
Painting your kitchen and bathroom takes a bit of extra care, but with good planning, the process becomes smoother and more rewarding. By taking time to prepare properly, choosing the right materials, and following a clear order of work, you’ll achieve a durable, beautiful finish that keeps your home feeling fresh for years to come.
Læs også: