Mortar Work as Part of Your DIY Home Projects

Mortar Work as Part of Your DIY Home Projects
Mortar is one of the most essential materials in home improvement and building work. It binds bricks, stones, and tiles together, seals joints, and provides strength and durability to structures. For many DIY enthusiasts, mortar work can seem a bit daunting at first, but with the right preparation and understanding, you can take on a wide range of projects yourself – from small repairs to larger garden or home improvements.
What Is Mortar – and When Do You Use It?
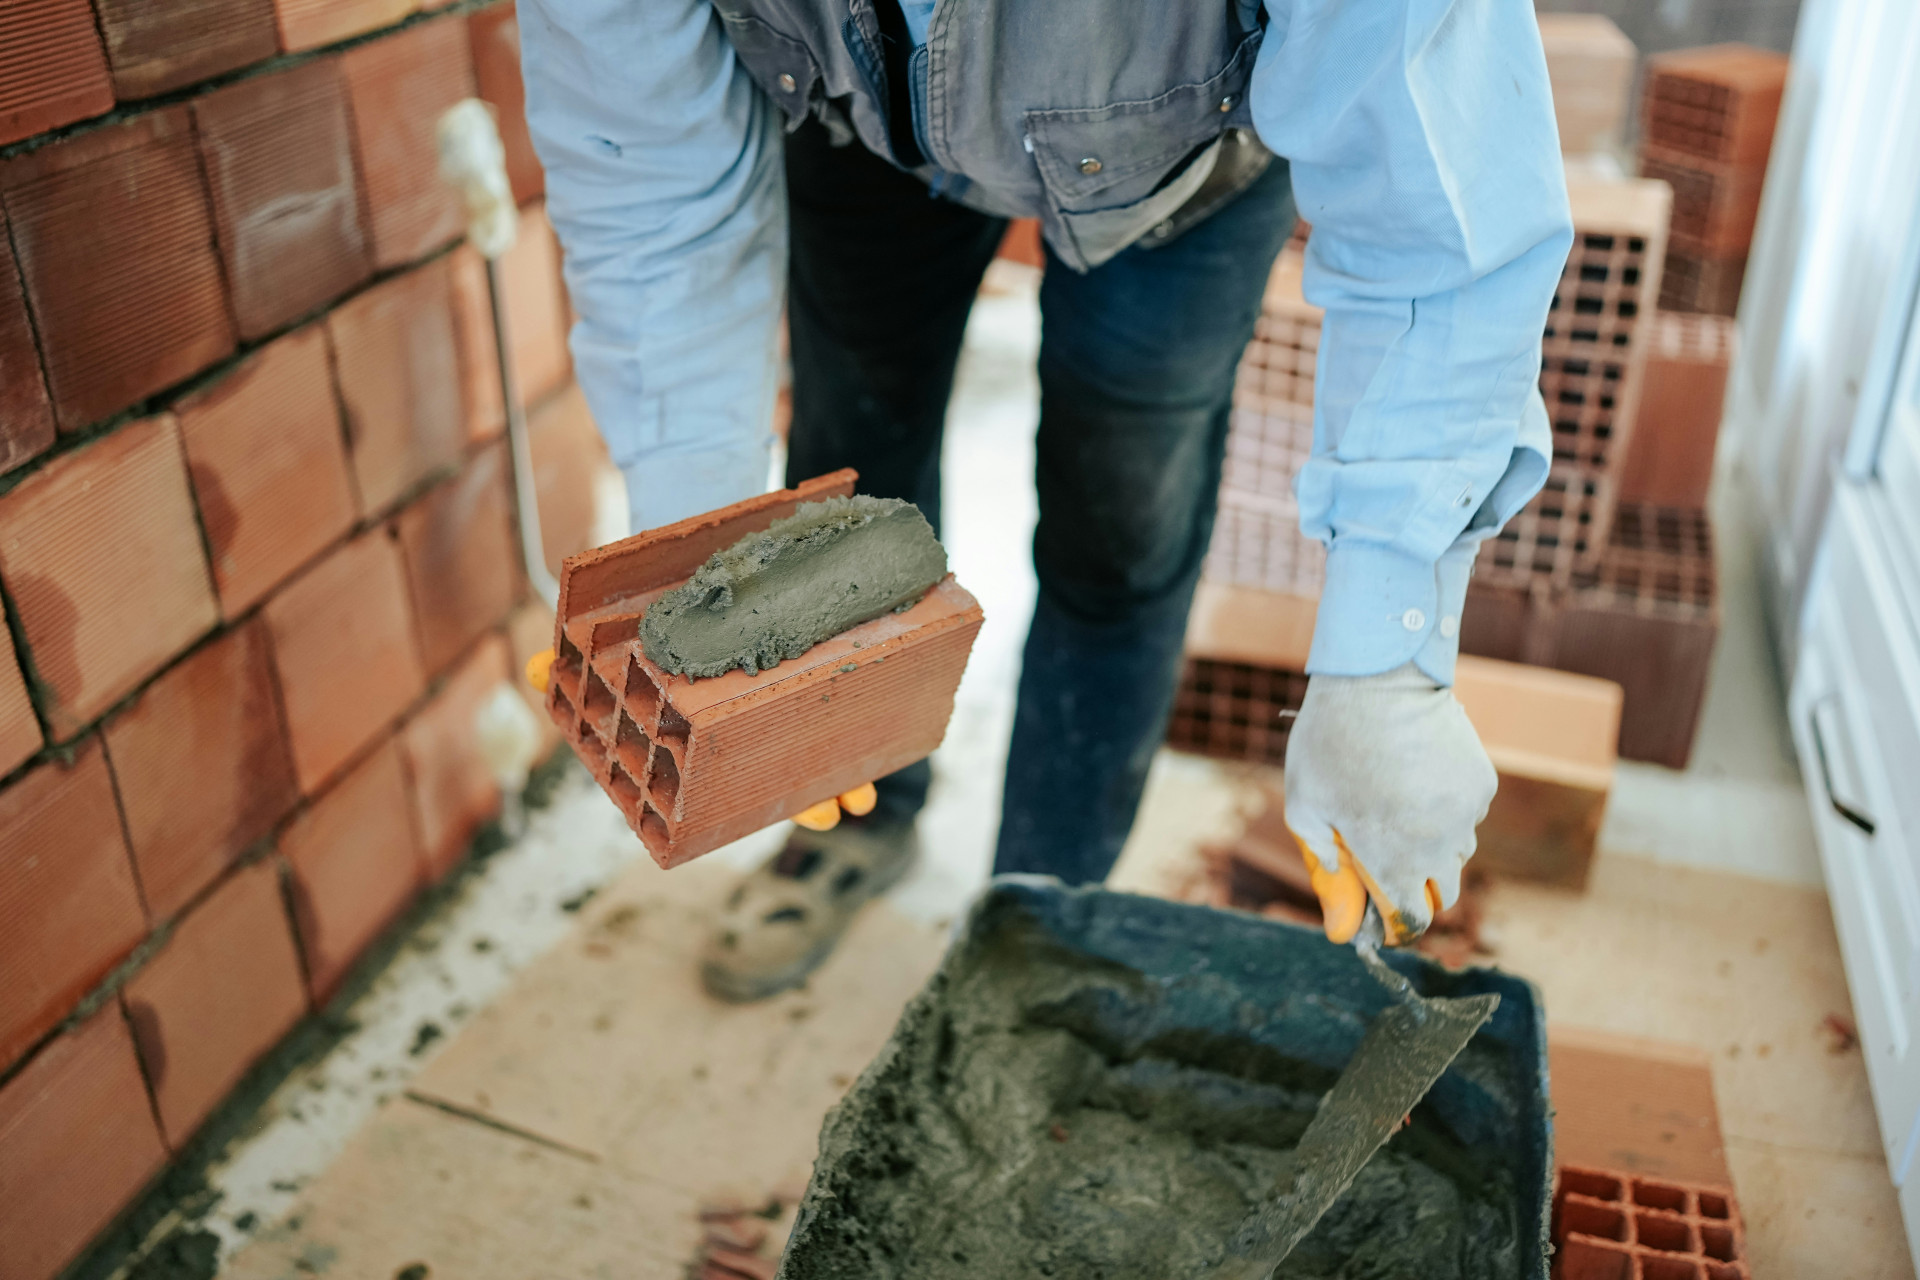
Mortar is a mixture of cement, sand, and water, sometimes with lime added to make it more workable. The exact composition depends on the job you’re doing.
- Cement mortar is strong and suitable for structural work such as walls, foundations, and paving.
- Lime mortar is softer and more flexible, making it ideal for older or listed buildings where breathability is important.
- Tile adhesive or thin-set mortar is used for fixing tiles in kitchens, bathrooms, and floors, where precision and adhesion are key.
Choosing the right type of mortar is crucial. Using a mix that’s too hard on an older wall can cause cracking, while a mix that’s too soft may not provide enough strength.
Preparation: The Key to a Good Result
Before you start, make sure both your materials and work area are properly prepared. Surfaces should be clean, solid, and free from dust, grease, or loose debris. If you’re repointing brickwork, remove any old, crumbling mortar with a joint raker or chisel so the new mortar can bond properly.
When mixing mortar, always follow the manufacturer’s instructions. Use a clean bucket and a mixing paddle or mortar mixer to achieve a smooth, even consistency. The mortar should be moist and workable – not too dry and not too runny.
A good tip is to mix small batches at a time, as mortar begins to set within a couple of hours and shouldn’t be re-tempered with water once it starts to harden.
Læs også:
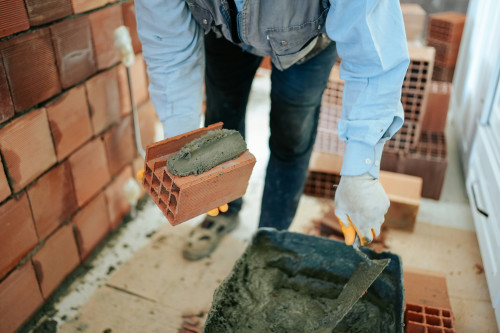
How to Carry Out Mortar Work Step by Step
The exact process depends on your project, but the basic principles are similar:
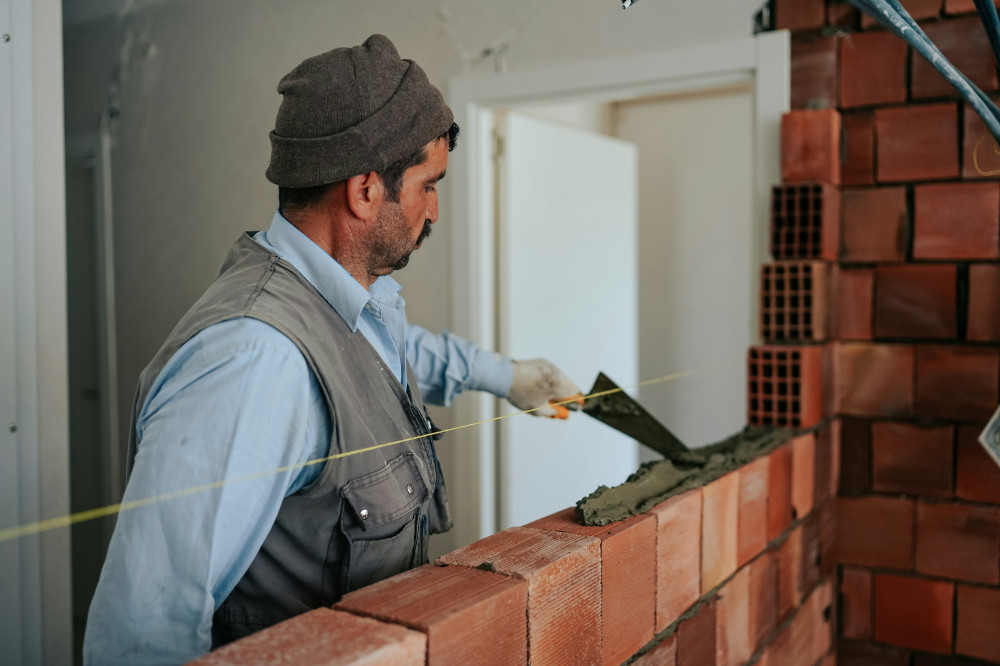
- Apply the mortar using a trowel or pointing tool. Press it firmly into joints or onto surfaces to eliminate air pockets.
- Smooth the surface with your tool and remove any excess before the mortar begins to set.
- Finish the joints – for example, by shaping them with a jointing tool for a neat, consistent look.
- Control the drying process. Mortar should not dry too quickly, as this can cause cracking. In hot or windy weather, cover your work with damp hessian or plastic sheeting to retain moisture.
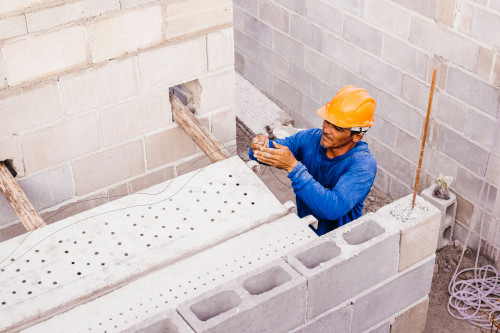
For larger projects, such as building a garden wall or repairing a house façade, it’s best to work in sections and allow each part to cure properly before continuing.
Common DIY Projects Involving Mortar
Mortar work features in many popular home and garden projects. Here are a few examples:
- Repointing brickwork – improves both the appearance and longevity of your walls.
- Tiling kitchens or bathrooms – requires precision and the correct adhesive or mortar type.
- Laying small foundations – for sheds, patios, or fence posts.
- Building a garden wall or barbecue area – a rewarding project for the confident DIYer.
Whatever the scale of your project, careful planning and patience will make all the difference to the final result.
Safety and Maintenance
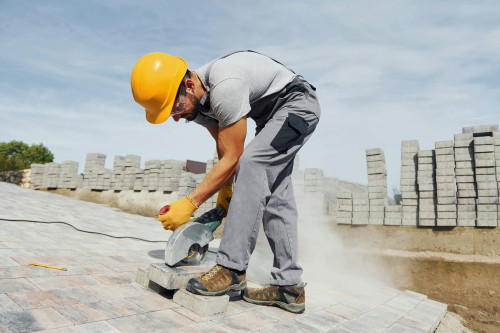
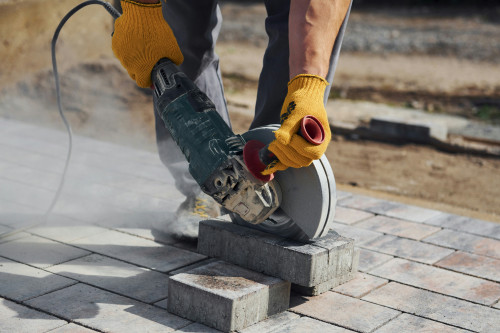
Mortar contains cement, which can irritate skin and eyes. Always wear gloves, safety goggles, and suitable work clothing. Avoid breathing in dust when mixing dry mortar, and ensure good ventilation if working indoors.
Once your work is complete, keep an eye on it over time. Frost, rain, and natural movement in the building can cause small cracks, which should be repaired before they worsen. A quick annual inspection of your brickwork can help prevent more costly repairs later.
A Skill Worth Learning
Mortar work takes practice and attention to detail, but it’s one of the most satisfying DIY skills to master. You can see the results immediately, and you’ll be adding strength and character to your home. Start with small repairs, build your confidence, and soon you’ll be ready to take on bigger projects with pride and precision.
Læs også: