Plan your insulation project step by step – choose the right materials for optimal energy efficiency

Plan your insulation project step by step – choose the right materials for optimal energy efficiency
Good insulation is one of the most effective ways to reduce your home’s energy consumption. It’s not just about keeping the heat in during winter – it’s also about maintaining a comfortable indoor climate all year round and cutting down on heating and cooling costs. Whether you’re renovating or building from scratch, a well-planned insulation project can make a significant difference. Here’s a step-by-step guide to help you plan your insulation project and choose the right materials for optimal energy efficiency.
Step 1: Start with an energy assessment
Before you begin, it’s important to understand where your home is losing heat. An energy assessment – either carried out by a professional energy assessor or as a thorough DIY inspection – will give you a clear picture of where improvements will have the greatest impact. In most UK homes, the main areas of heat loss are the roof, external walls, floors, and windows.
By identifying the weak points, you can prioritise your efforts and avoid spending money on unnecessary upgrades. A professional energy report can also provide an estimate of potential savings and payback time.
Step 2: Set your budget and goals
Once you know your home’s needs, the next step is to set a realistic budget. Consider how much you want to invest and what you hope to achieve – lower energy bills, improved comfort, reduced draughts, or perhaps a better Energy Performance Certificate (EPC) rating.
It’s worth thinking long-term. High-quality materials and proper installation may cost more initially, but they often deliver greater savings and fewer issues over time. Check whether you’re eligible for government grants or local schemes, such as the Great British Insulation Scheme, which can make your project more affordable.
Step 3: Choose the right insulation materials
There are many types of insulation, and the best choice depends on where you’re insulating and your priorities regarding cost, environmental impact, and durability.
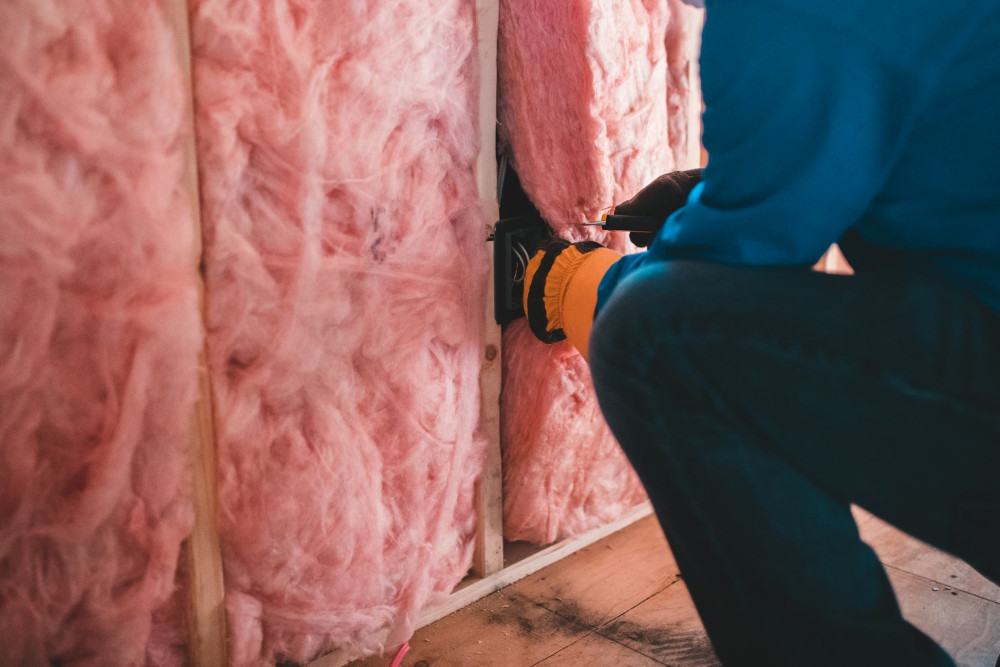
- Mineral wool (glass or rock wool) – a classic choice offering good thermal performance, fire resistance, and sound insulation. Suitable for lofts, walls, and floors.
- Cellulose insulation – an eco-friendly option made from recycled paper, blown into cavities for a tight and flexible fit.
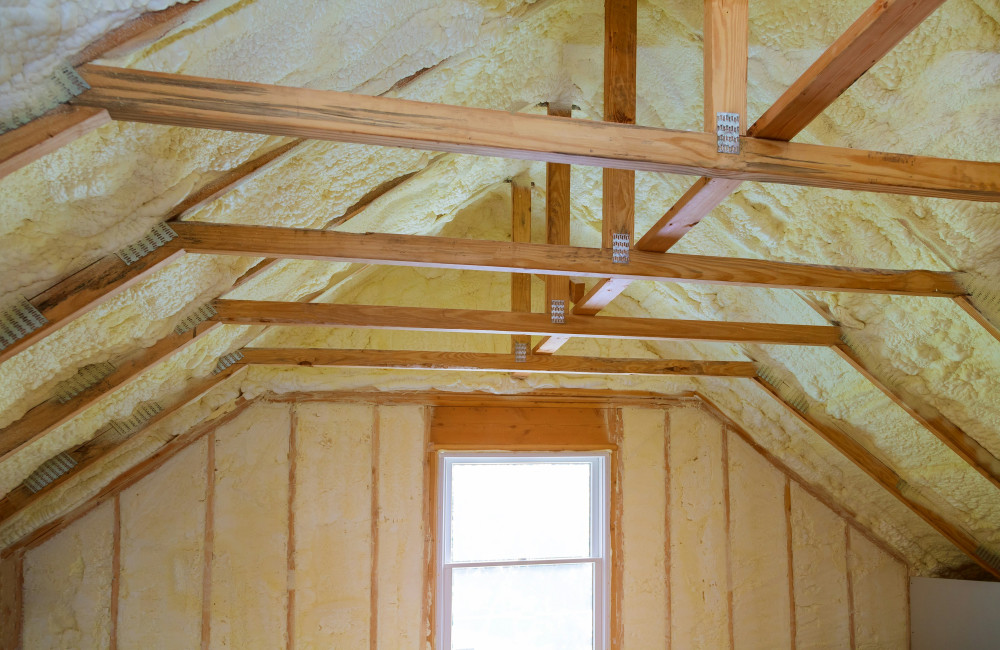
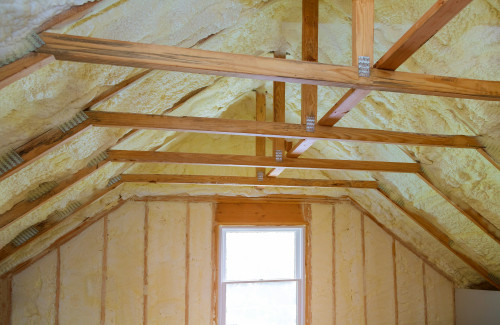
- Foam insulation (PUR/PIR) – provides excellent insulation where space is limited, such as in roofs or wall cavities.
- Natural materials (wood fibre, hemp, sheep’s wool) – breathable and sustainable, ideal for older or heritage properties where moisture control is important.
Choose materials that suit your building’s structure and the UK climate. In older homes, it’s especially important to ensure that insulation doesn’t trap moisture, which can lead to damp problems.
Step 4: Plan the installation – DIY or professional help?
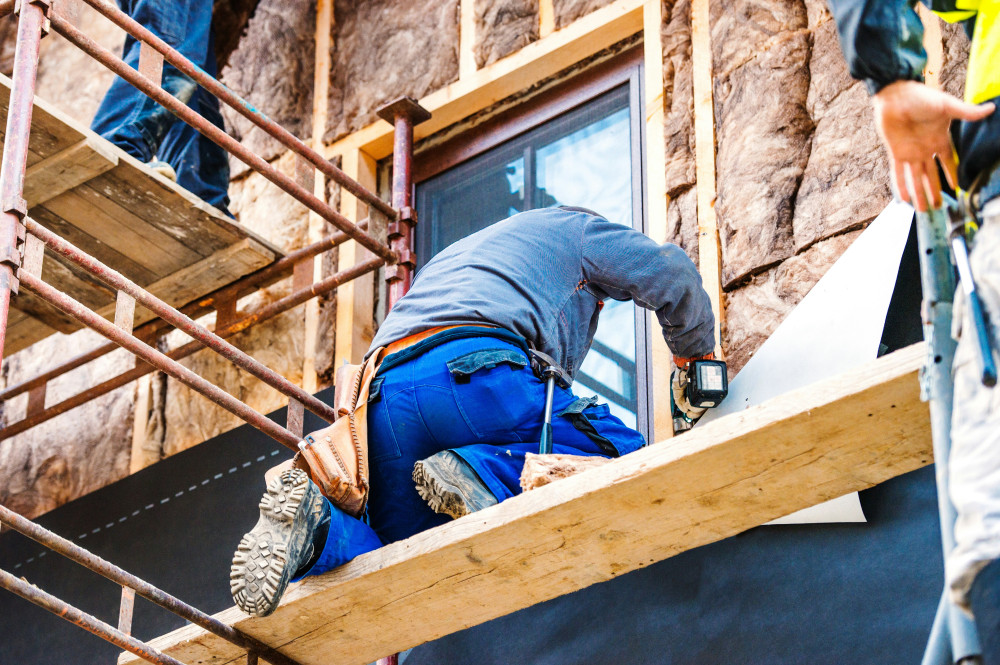
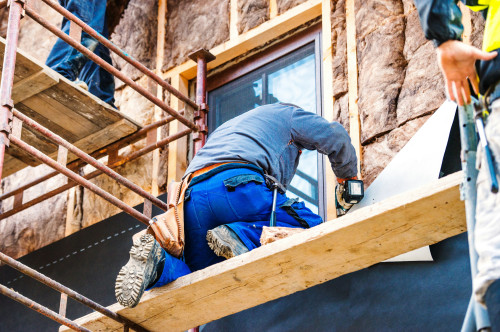
Some insulation tasks can be done yourself, while others are best left to professionals. Loft insulation and cavity wall insulation can often be installed quickly by specialists, while solid wall or floor insulation usually requires more extensive work.
Consider whether you have the right skills and equipment. Poorly installed insulation can cause condensation, mould, and reduced effectiveness. If in doubt, it’s better to hire a qualified installer – it’s an investment that pays off in the long run.
Læs også:

Step 5: Think about ventilation and airtightness
Improving insulation makes your home more airtight, which is great for reducing heat loss but can cause issues if ventilation isn’t adequate. Make sure there’s enough airflow, either through natural ventilation or a mechanical ventilation system with heat recovery.
A well-insulated but poorly ventilated home can develop damp and poor air quality. Always include ventilation as part of your insulation plan to maintain a healthy indoor environment.
Step 6: Check the results
After installation, check that the insulation is performing as expected. A thermal imaging survey can reveal cold spots or air leaks that need attention. You can also monitor your energy bills to see how much you’re saving.
Step 7: Maintain and future-proof your home
Insulation requires little maintenance, but it’s wise to inspect your loft and roof space occasionally for signs of damp or pests. When you replace your roof, windows, or cladding in the future, consider integrating additional insulation – it’s often more cost-effective to do it all at once.
A smart investment for comfort and the climate
A well-planned insulation project is not only a financial investment but also a step towards a more sustainable home. You’ll enjoy greater comfort, lower energy use, and a property that’s more valuable and environmentally friendly. With the right planning and materials, you can create a home that benefits both you and the planet – step by step.
Læs også: