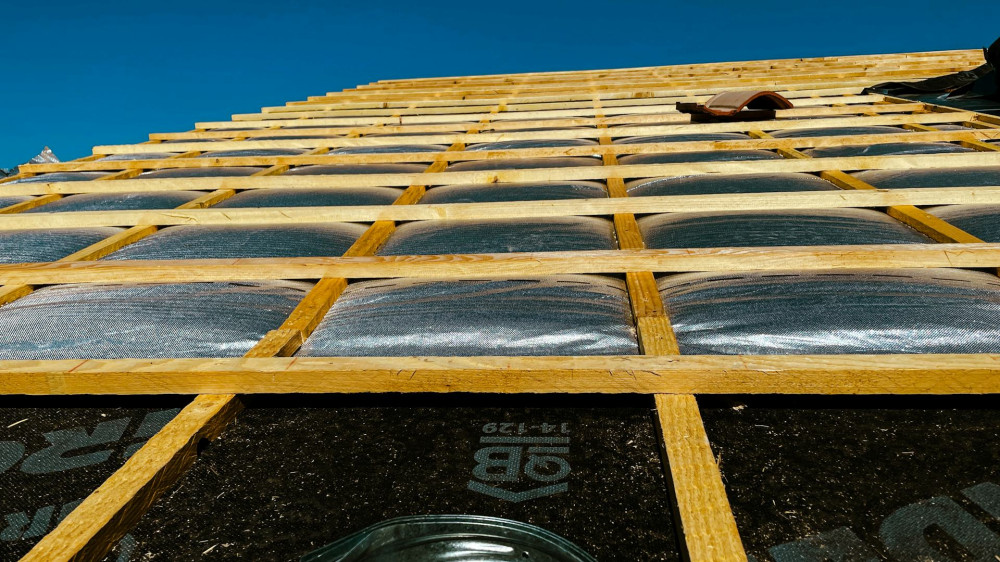
How to Ensure Tight Joints in the Roofing Underlay

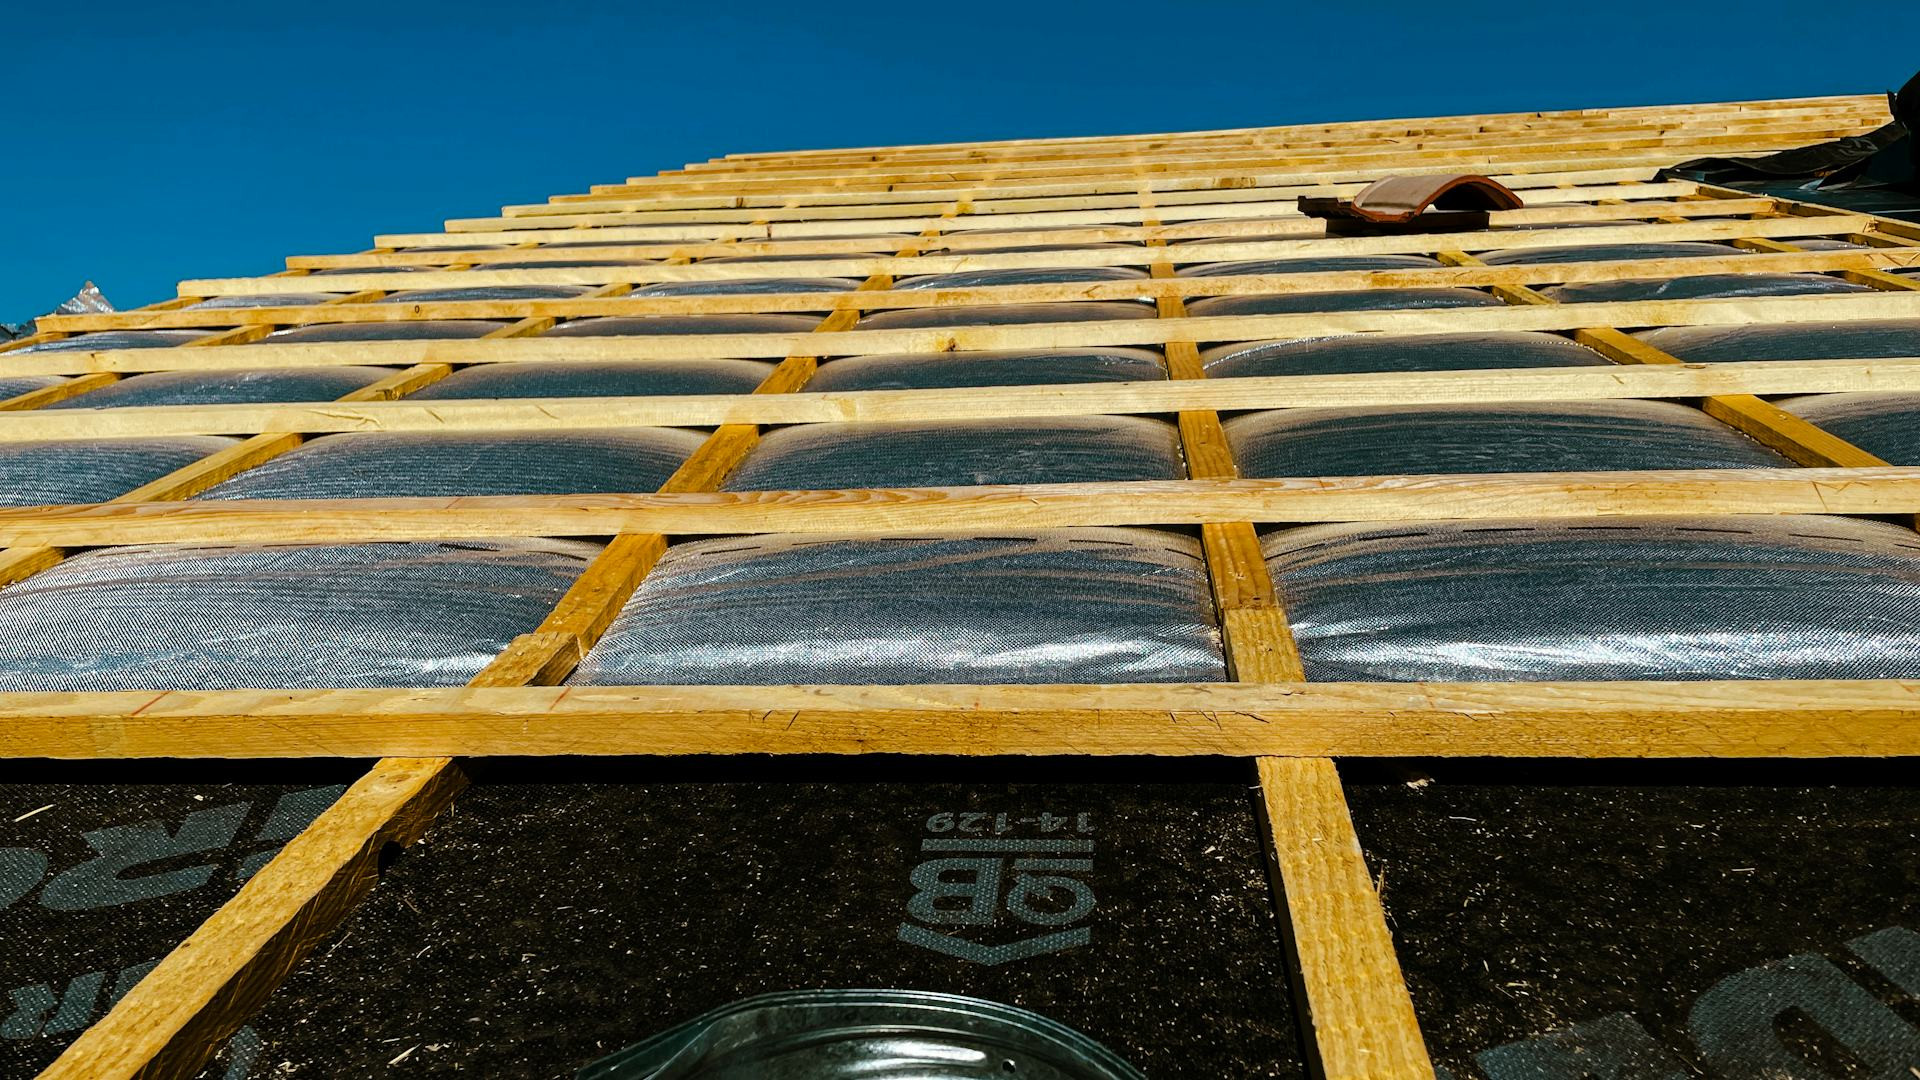
How to Ensure Tight Joints in the Roofing Underlay
A watertight roofing underlay is one of the most important elements in creating a durable and weatherproof roof. The underlay acts as the building’s final line of defence against rain, snow, and wind-driven moisture that can penetrate beneath the roof covering. Even the best materials can fail if the joints are not properly sealed. This guide explains how to ensure tight joints in the roofing underlay – both during installation and through regular maintenance.
Understanding the Role of the Roofing Underlay
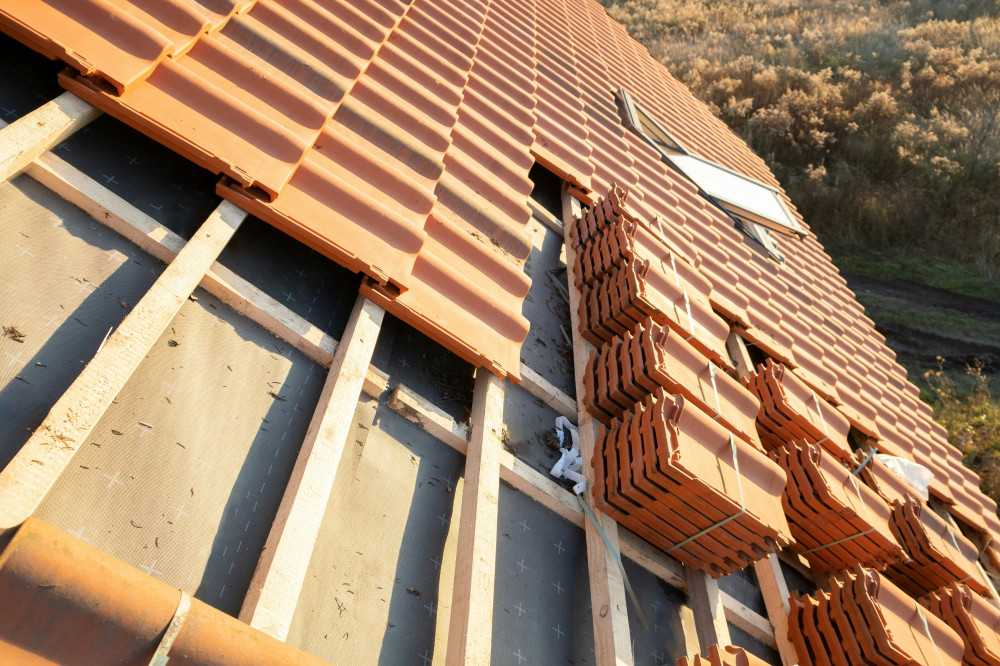
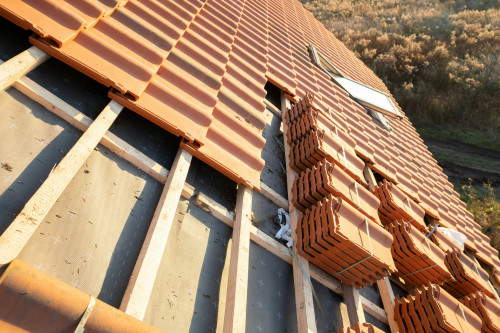
The underlay sits beneath tiles, slates, or other roof coverings and protects the roof structure from moisture. It channels any water that gets past the outer covering down to the guttering. For this reason, every joint, overlap, and penetration must be completely sealed – otherwise, water can find its way into the insulation or timber structure.
In the UK, two main types of underlay are commonly used:
- Breathable (vapour-permeable) underlays, which allow moisture from inside the building to escape while keeping rain out. These are typically used in warm, insulated roofs.
- Non-breathable underlays, which are used in cold roof spaces where ventilation occurs above the underlay.
Regardless of the type, the joints are always the most vulnerable points – and therefore require special attention.
Choosing the Right Materials
A tight joint starts with the right materials. Always use tapes, adhesives, and sealing products that are approved for the specific underlay system you are working with. Manufacturers design their products to work together, ensuring the best and most durable seal.
- Tape should be UV- and ageing-resistant so it maintains adhesion over time.
- Sealant or adhesive is often used around penetrations, valleys, and wall abutments.
- Clips or battens can provide additional mechanical support, especially at the eaves and ridge.
Avoid mixing products from different manufacturers, as this can lead to poor adhesion and reduced lifespan.
Læs også:
Correct Installation of Joints
When installing the underlay, precision is key. Small mistakes can lead to major problems once the roof is closed.
- Clean and dry surfaces: Tapes and adhesives only bond properly to clean, dry surfaces. Remove dust, sawdust, and moisture before sealing.
- Correct overlap: Follow the manufacturer’s guidance for overlaps – typically between 100 and 150 mm, depending on roof pitch. Too little overlap increases the risk of leaks.
- Press the joint firmly: Use a roller or your hand to press the tape down firmly, ensuring there are no air pockets.
- Avoid creases and tension: Wrinkled or stretched underlay can create stress points that open up over time. The membrane should lie flat and even.
- Seal around penetrations: For pipes, vents, and roof windows, cut the underlay precisely and seal it with collars or specialist tapes designed for the purpose.
These details may seem minor, but they make all the difference in ensuring the roof remains watertight for years to come.
Inspection and Maintenance
Even a well-installed underlay should be inspected periodically – especially after storms or heavy rainfall. Look for signs of moisture, staining, or dark patches in the loft, which may indicate leaks.
If you find a loose joint, it can often be repaired with new tape or sealant, provided the area is clean and dry. For more extensive damage, contact a qualified roofer who can assess whether part of the underlay needs replacement.
Common Mistakes to Avoid
Many leaks in roofing underlays are caused by the same avoidable errors:
- Installing joints in damp or cold conditions.
- Using the wrong type of tape or adhesive.
- Insufficient overlap between sheets.
- Poor sealing around penetrations.
- Failing to inspect the roof after installation.
By avoiding these mistakes, you can save time, money, and future repair work.
A Watertight Underlay Protects Your Home
A roofing underlay with tight joints not only keeps out water but also prevents mould, rot, and heat loss. It’s an investment in the health and longevity of your home. With the right materials, careful workmanship, and regular checks, you can ensure your roof stays secure and watertight – even when the British weather is at its worst.
Læs også: